This post will tell you exactly how to take Monstera cuttings. We’ll share the easiest and quickest method of propagating your Monstera Delicisoa plant. By taking cuttings and rooting them in water you’ll
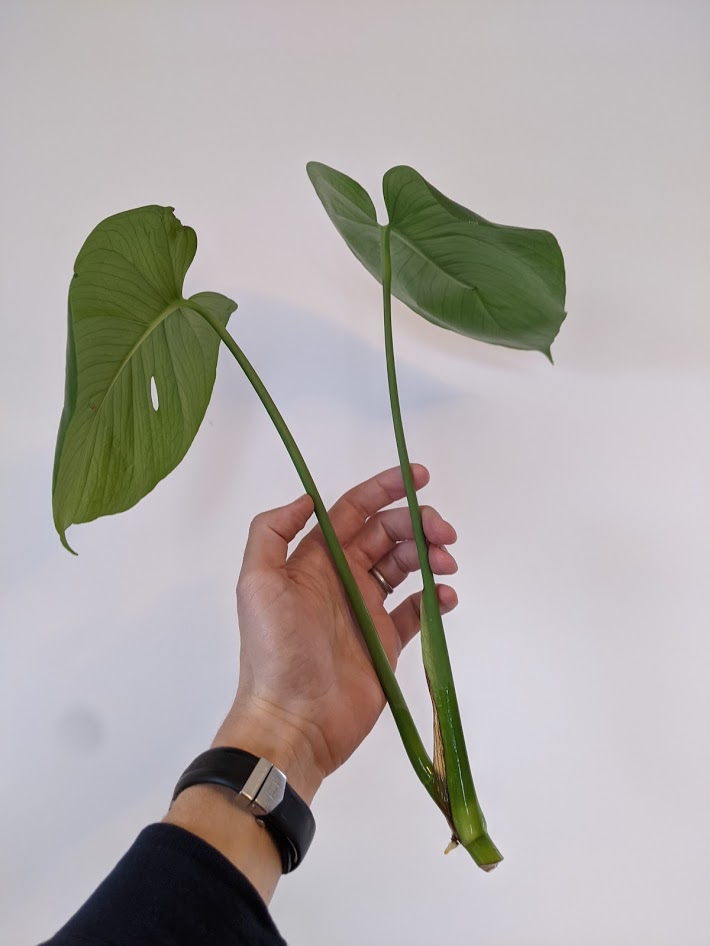
Personally I find that rooting your monstera cuttings in water has the added benefit that you get a nice elegant looking cutting in a vase while you wait for it to root. In addition you’ll be able to see exactly how the root growth is going at any given point.
In terms of timing I like to take them in Spring when increasing light levels will help the new cutting soak up energy from the sun to put down to it’s new roots. That said Monstera are robust plants and I’ve had success in taking cuttings throughout the year. If doing this in the depths of Winter be sure you have a nice light place to put the cuttings.
All you need is a sharp knife and a tall (ish) vase or jar. The vase will need to be tall to support the long stem that Monstera’s typically have.
How to Take Monstera Cuttings
The fat that Monstera’s are vine like plants means there are usually plenty of good points from which you can take a cutting.
First of all you need to locate a node. This is usually just below where a leaf meets the stem. Where the plant grows out a new leaf there will be a small node just below. Often the plant will have a small nub or the start of an ariel root. This is where the roots will come from so cut just below this node.
Once you have taken the cutting simply place it in a large jar/vase of water. Ideally use rain water. If you’re using tap water leave it to settle for 24 hours before using to allow any chlorine to burn off.
Place the cutting somewhere with lots of indirect light. I tend to use a North Easterly facing window that gets some early morning sun and lots of indirect light throughout the rest of the day.
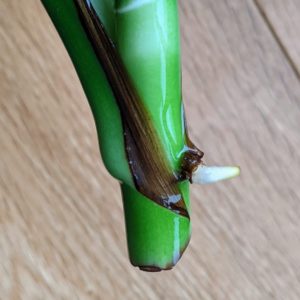
After a week or two you will likely see a small root appearing out of the nub. Here is a photo of one of my cuttings after ~2 weeks.
Change the water once per week (if you can remember) and keep the cutting in lots of bright indirect light.
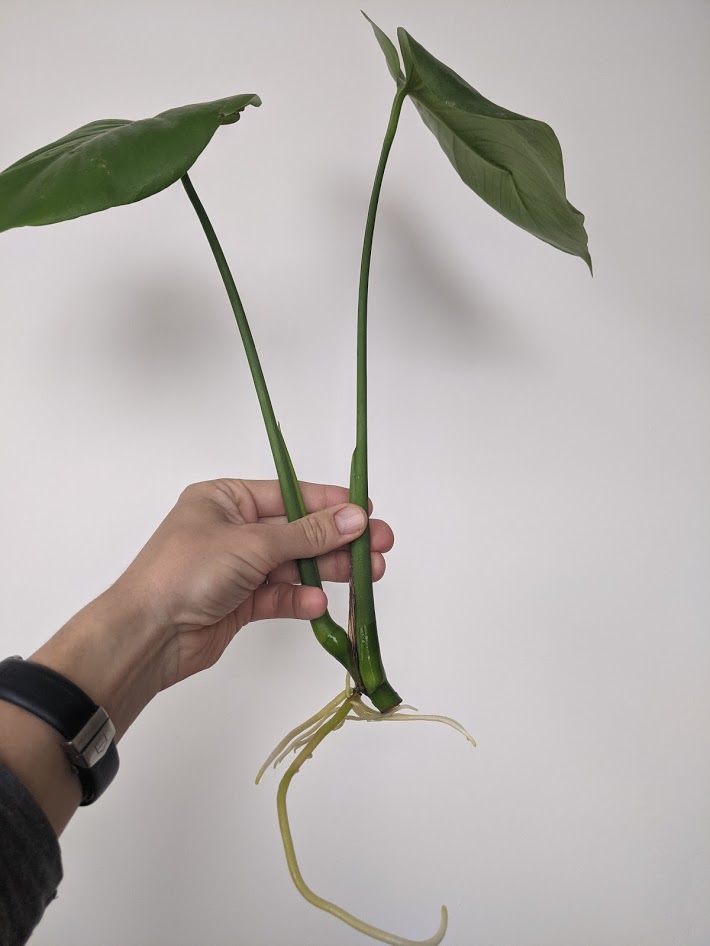
After 4-6 weeks your Monstera cutting should have a good amount of roots on it. Now is the time to pot it on in to some soil. Below is the same cutting from above after 7 weeks (note this cutting was taken in winter – summer cuttings tend to root much quicker due to the higher light levels).
Monstera Potting Mix
I use a simple mix of regular multi-purpose compost with a few handfuls of sand and perlite. I’m not too fussy about exact measurements. The sand and perlite are there to aid drainage and aeration to the roots.
When potting the cutting up, you will need to firm down the compost around the roots to help stabilize it and keep it upright. Be firm but try to avoid damaging the roots.
As before try to keep the potted plant in lots of bright indirect light. While it adapts to having its roots in compost try not to dramatically change its environment to avoid putting the plant into shock.
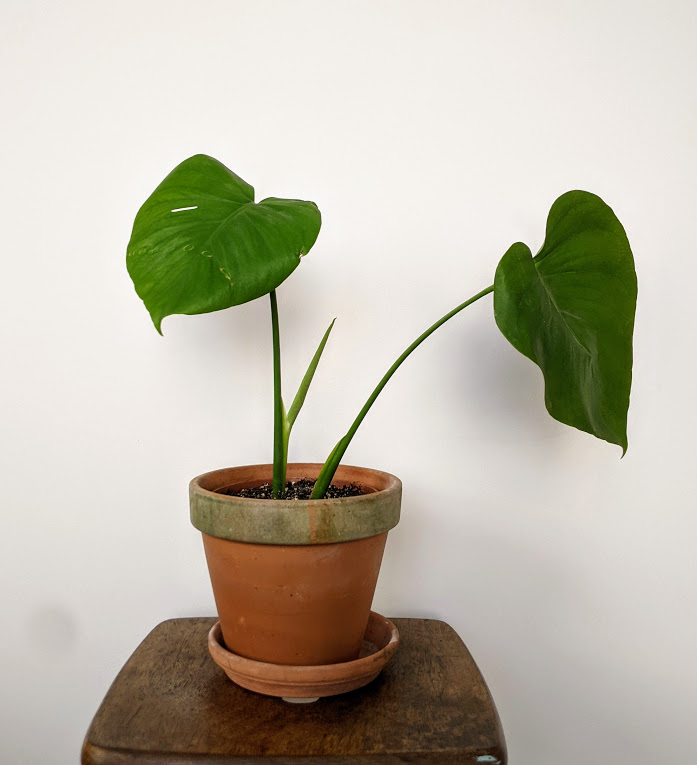
And there you have it, you have created a new Monstera plant from your cutting. You can see in the above example that about a week after I potted it it began to throw out a new leaf. That’s a sure fire fine the cutting has taken well to the compost.
Now relax and enjoy your new plant!